How do I create a post?
If you have requested to join the Communities as a contributor, your account will be verified and updated with the correct permissions, after which you will be able to start creating content. You will receive a confirmation email when your account is ready. Make sure to check your spam/junk folder. If you do not receive this confirmation within 1 hour, please get in touch with the Communities team.
For a step-by-step explanation, please see the details below…
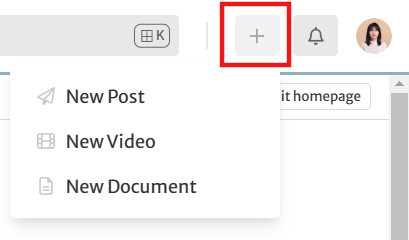
After logging in to the Communities, you will see an add button in the top right corner, which will allow you to create a piece of content:
You can also do this by selecting one of the icons from the welcome bar on the homepage:

You can create a written post by selecting ‘Post’ or a video-based post by selecting ‘Video’.
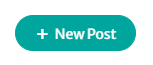
Select ‘+New Post’, on the top, right-hand side of the page. This will take you through to the post creation page. The fields marked with an asterisk (*) must be filled out before the post can be saved (i.e. title and content fields).
You will also see a number (300) at the bottom right corner of the introduction field, which indicates the character limit for the text. If the character limit is exceeded, the number will appear red and indicate how many characters over the limit you are. Your post will not save or publish if you have exceeded this limit.
You can create your post directly in the Communities’ template, or you can copy the text from a document, if you prefer. If you copy the text, keep an eye on the formatting as it can change when added to the platform. Remember that your blog post can be less formal than your research paper and be sure to use more accessible language to help our diverse audience enjoy your post.
Once you’ve written or added your post’s contents, you should search for and add topics that are relevant to your post through the ‘Add a topic’ section at the bottom of the page.

These topics should be relevant keywords or phrases that describe the research area, discipline, or area of study described in your blog. Adding these is important to help ensure the visibility of your post, as the topics you choose will assign the blog to relevant Communities and help other readers discover your posts.
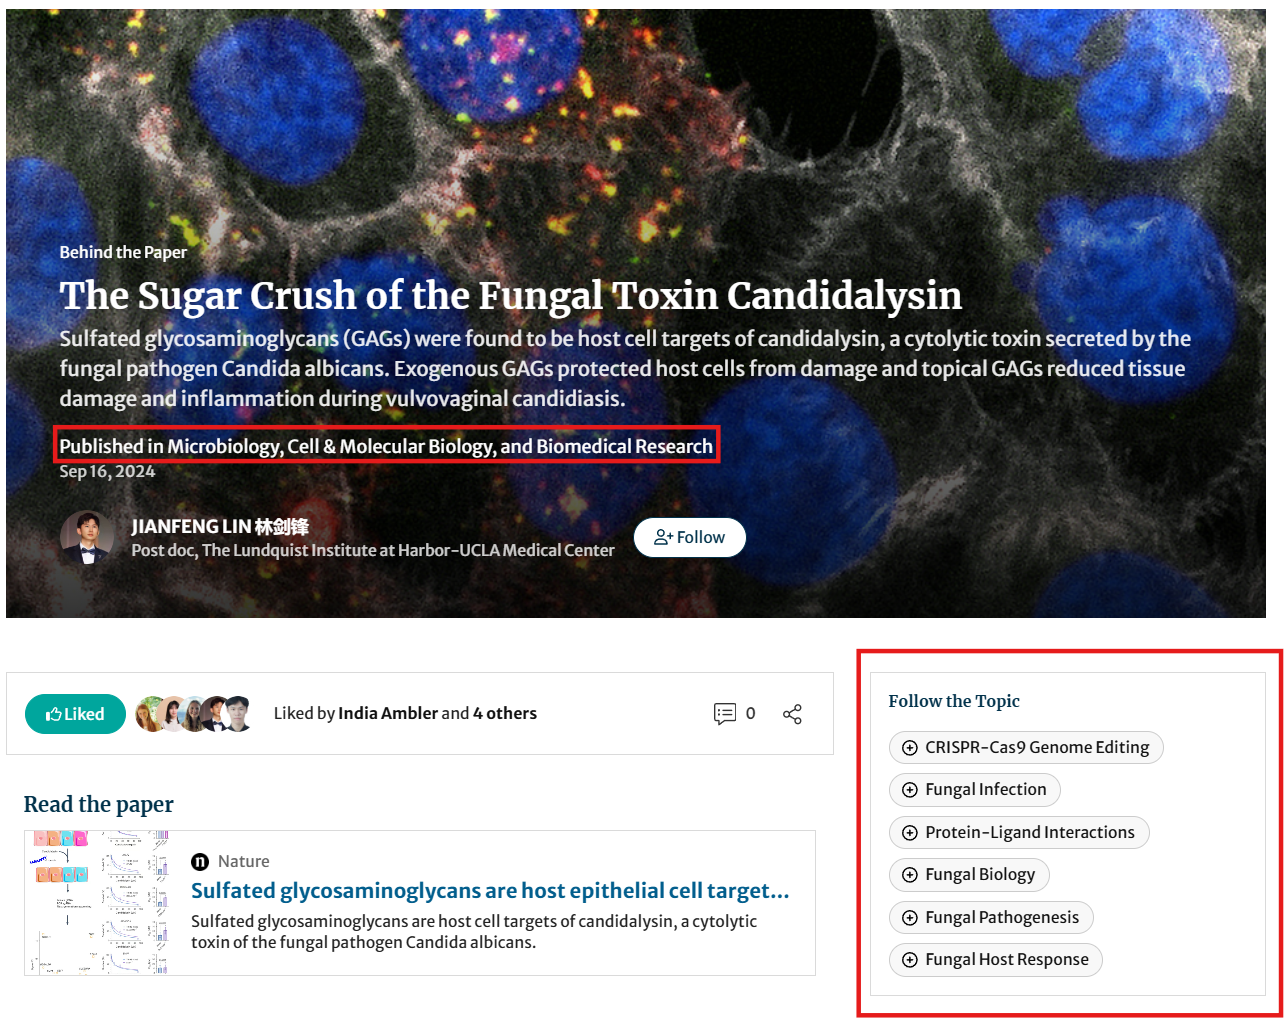
Before saving and publishing your post, you also need to ensure that you have filled out all relevant fields on the right-hand side:
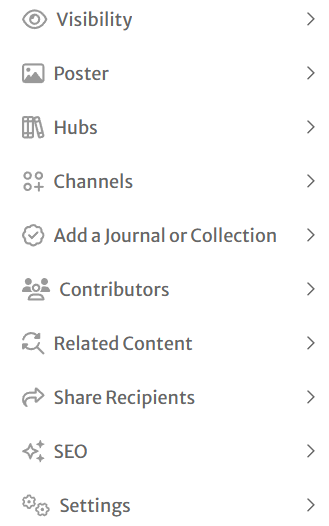
Poster image - the primary image for your post that appears at the top of the page. Including images is a great way to draw attention and promote engagement with your post. Poster images should be at least 1280 x 960 pixels in size.
Add a Journal or Collection - Journal name (e.g. Nature Communications) or Collection (e.g. Cloud, fog, and edge computing technologies) - select the journal or Collection in which your paper was published
Channels - These help other Community members know what type of post you are sharing and help to showcase it in the Communities. If you are writing a Behind the Paper post then select this channel, but you may also find other channels that relate to your work, feel free to include these too.
Contributors - Here you can add any co-authors of your blog. If they are already a part of the Communities, search for their name and select their profile. If they aren’t yet part of the Communities, type in their email address to invite them. Once they accept the invitation they can be added as a contributor to the post. Please note that only the author of the blog post can view and edit the draft while it is saved on the Communities.
Related Content - For Behind the Paper posts this is the place to link your research article. For other types of posts, this can be used to link to anything directly relevant to your blog post.
Sharing - Here you can add one or more email addresses that you would like to receive a notification that the blog post has been successfully published. If you don’t want to send a notification, you can leave this blank.
Settings - This allows you to change whether Community members are notified and/or are able to comment on your post. To ensure maximum engagement with your blog, we recommend you leave both settings on.
Now you are able to save your post, which also means you can preview it by clicking on ‘Preview’ in the top right-hand corner.

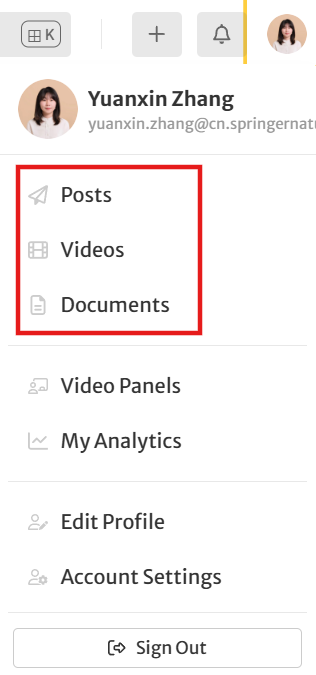
To navigate back to your post from the preview page, you can either use the back function of your browser or go to the ‘My Posts/Videos/Documents’ section of your profile, accessible through your profile drop-down menu (under your profile photo).
Once you are happy with the appearance of your post, you can either publish it immediately by clicking ‘Publish now’, or schedule it for a later date.
All your posts will appear in the ‘My Posts/Videos/Documents’ section of your profile, accessible through your profile drop-down menu (under your profile photo). From here you are also able to edit or un-publish your post if you wish to do so.
Here are some more tips and suggestions to help you make the most of the Communities:
- How to write an engaging blog post?
- Widening the reach of my post: Accessibility and inclusion
- Widening the reach of my post: Encouraging engagement
- How can I measure engagement with my post?
- Is your profile complete and up to date?
You can also take a look at the Help and Support channel for more information.
If you have any further questions about creating a post on the Communities, please get in touch with the team and we’ll be happy to help.
Follow the Topic
What are SDG Topics?
An introduction to Sustainable Development Goals (SDGs) Topics and their role in highlighting sustainable development research.
Continue reading announcement